Inside my sketchbook: Oct 2019
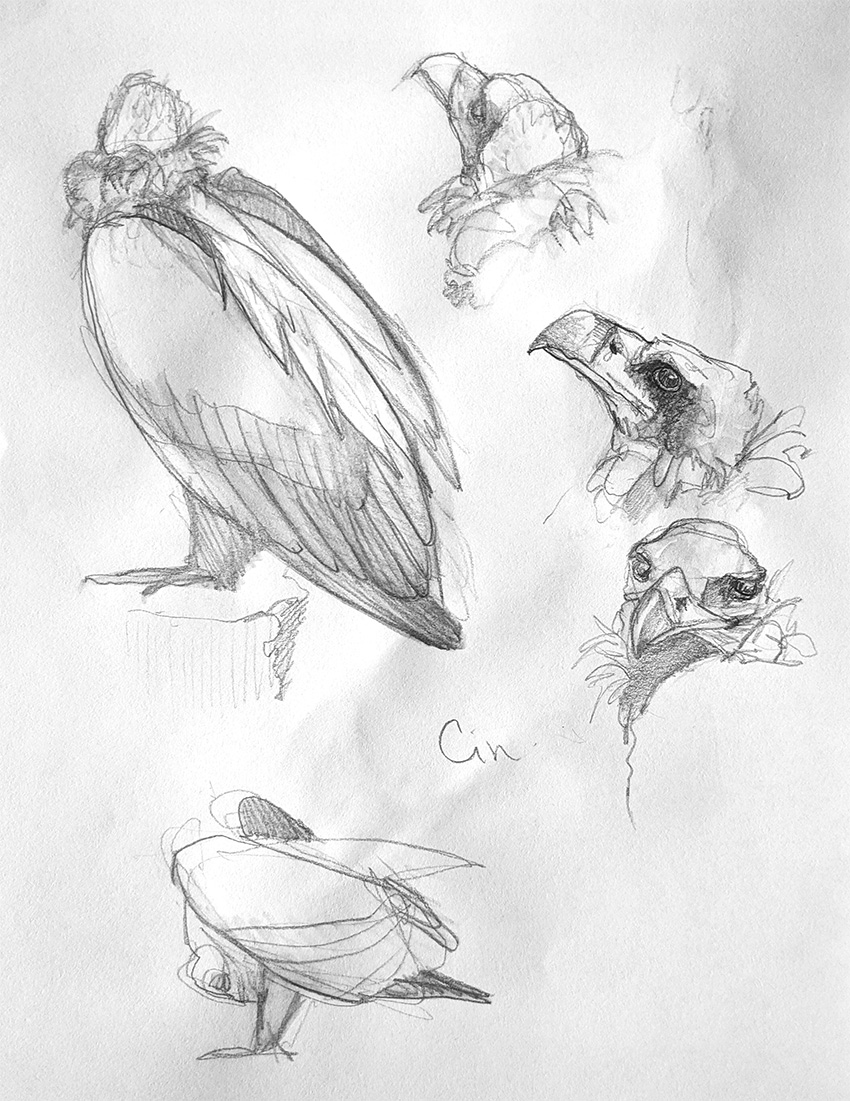
Hello again everyone! Today I thought I would show you some of the sketches I did at my last outing. As in my earlier post, these are done with layers of both water-soluble and traditional graphite.
Hello again everyone! Today I thought I would show you some of the sketches I did at my last outing. As in my earlier post, these are done with layers of both water-soluble and traditional graphite.


Hope you all enjoyed the peak inside my sketchbook. Talk to you soon!
Missy
Tales from my Sketchbook: Water-soluble Graphite
Hi everyone!
As every artist uses their sketchbook differently and there’s no wrong way to do so, I always enjoy looking at all the many ways people put these versatile yet humble tools to such beautiful use. So today I’m going to go in depth with one page in my sketchbook that I did recently. Each of my sketchbooks has its own place in my artistic workflow: this particular sketchbook is reserved for studies, either drawn from life or from photo reference. This is a preference I picked up in art school, where we had to keep separate life drawing sketchbooks for gesture drawing.
Materials used on this page: A5 sketchbook with 85gsm paper, 6B Aquarelle water-soluble graphite pencil, 4B graphite pencil, brush and water
Step One: The initial sketch
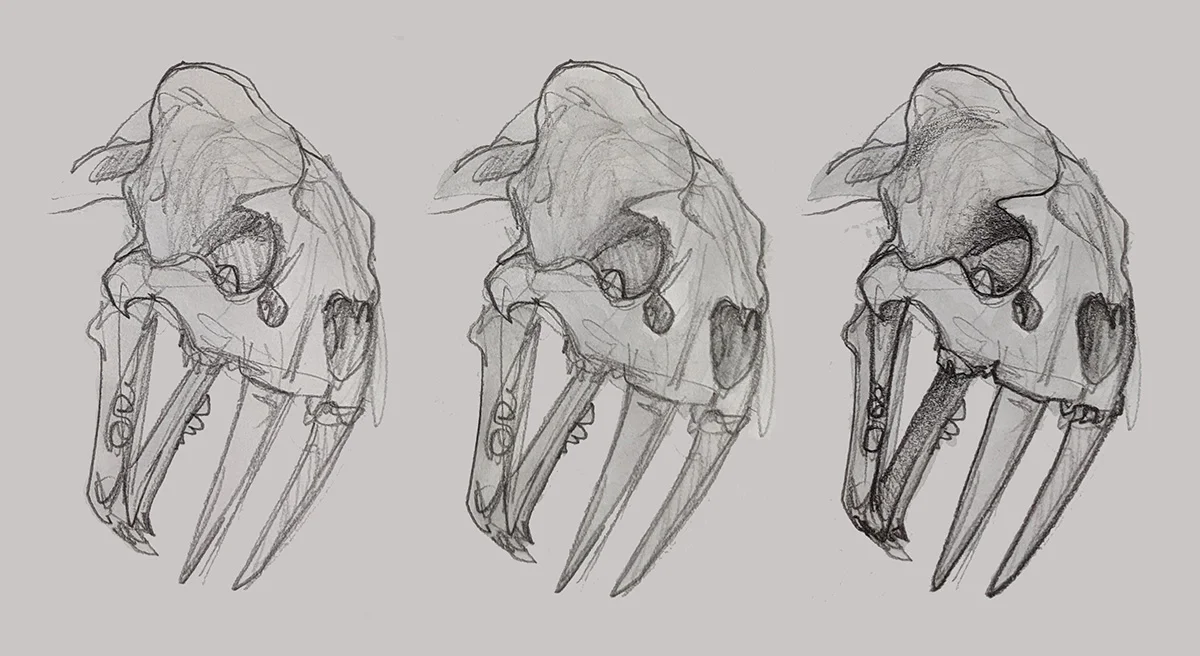
I’ve always enjoyed drawing skulls (the vulture lady likes skulls? Shocking), and on a recent trip to a local museum I had the opportunity to do a little drawing, but no time for longer studies. I usually do field sketches in pen, but I’ve been wanting to work the water-soluble graphite into my sketchbook for a long time, and I thought an unmoving-subject would be perfect for an early experiment. I used the water-soluble graphite pencil to gesture-in the initial sketch of the subject. I do each one of these fairly quickly, in about a minute or maybe two, then moving to a different position to study it from another angle. While these sketches certainly aren’t neat and tidy, they have an energy to them that I enjoy. Once the sketches were done, I took a few photos of the skeleton from each angle.
Step Two: Just add water
The next step involved wetting the graphite. In this case I did it back at home, as I didn’t have enough time on location to wait around for wet paper to dry. I concentrated on smoothing out the value transitions, as well as softening some edges. Then I allowed the paper to dry.
Step Three: Refinement
Now I brought up my reference photos to refer to while I refined my sketches. I used to never, ever alter a life drawing gesture — whatever I did on the spot was it and anything else was cheating — but now I let myself do whatever I want with my own reference. I mostly referred to the photos for lighting, and they helped me decide which lines to emphasize. The gestures are still rough and sketchy, and I took care to not overwork them. I used a regular 4B graphite pencil for this step. In my experience a second layer of water-soluble graphite causes more problems than it solves.
And that’s it, folks. Hope this little window into my process was at least mildly interesting. I’m definitely going to be using this technique more often.
Happy creating!
MIssy


